beanie
-
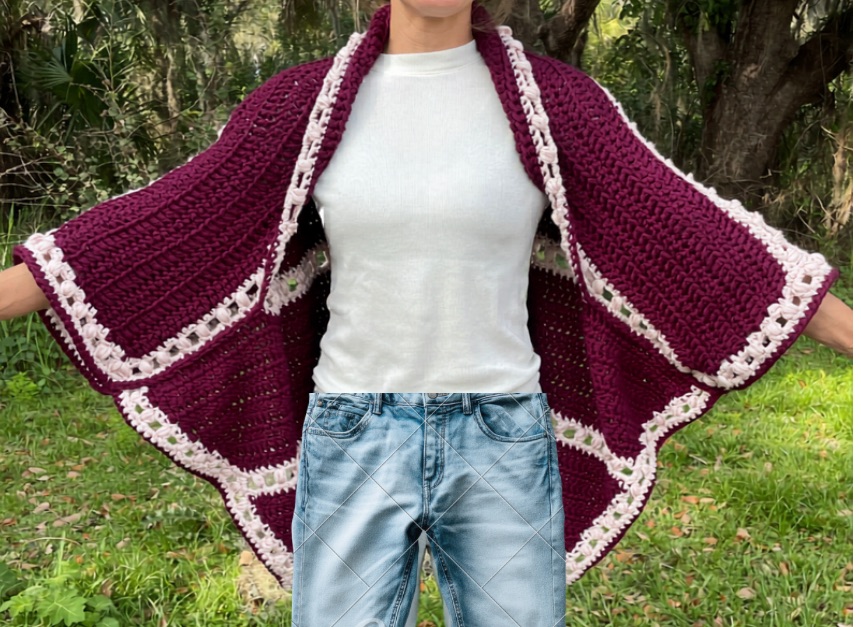
Butterfly Shawl
Here’s a quick (relatively), and easy spring/fall project you can work up using some simple crochet…
-
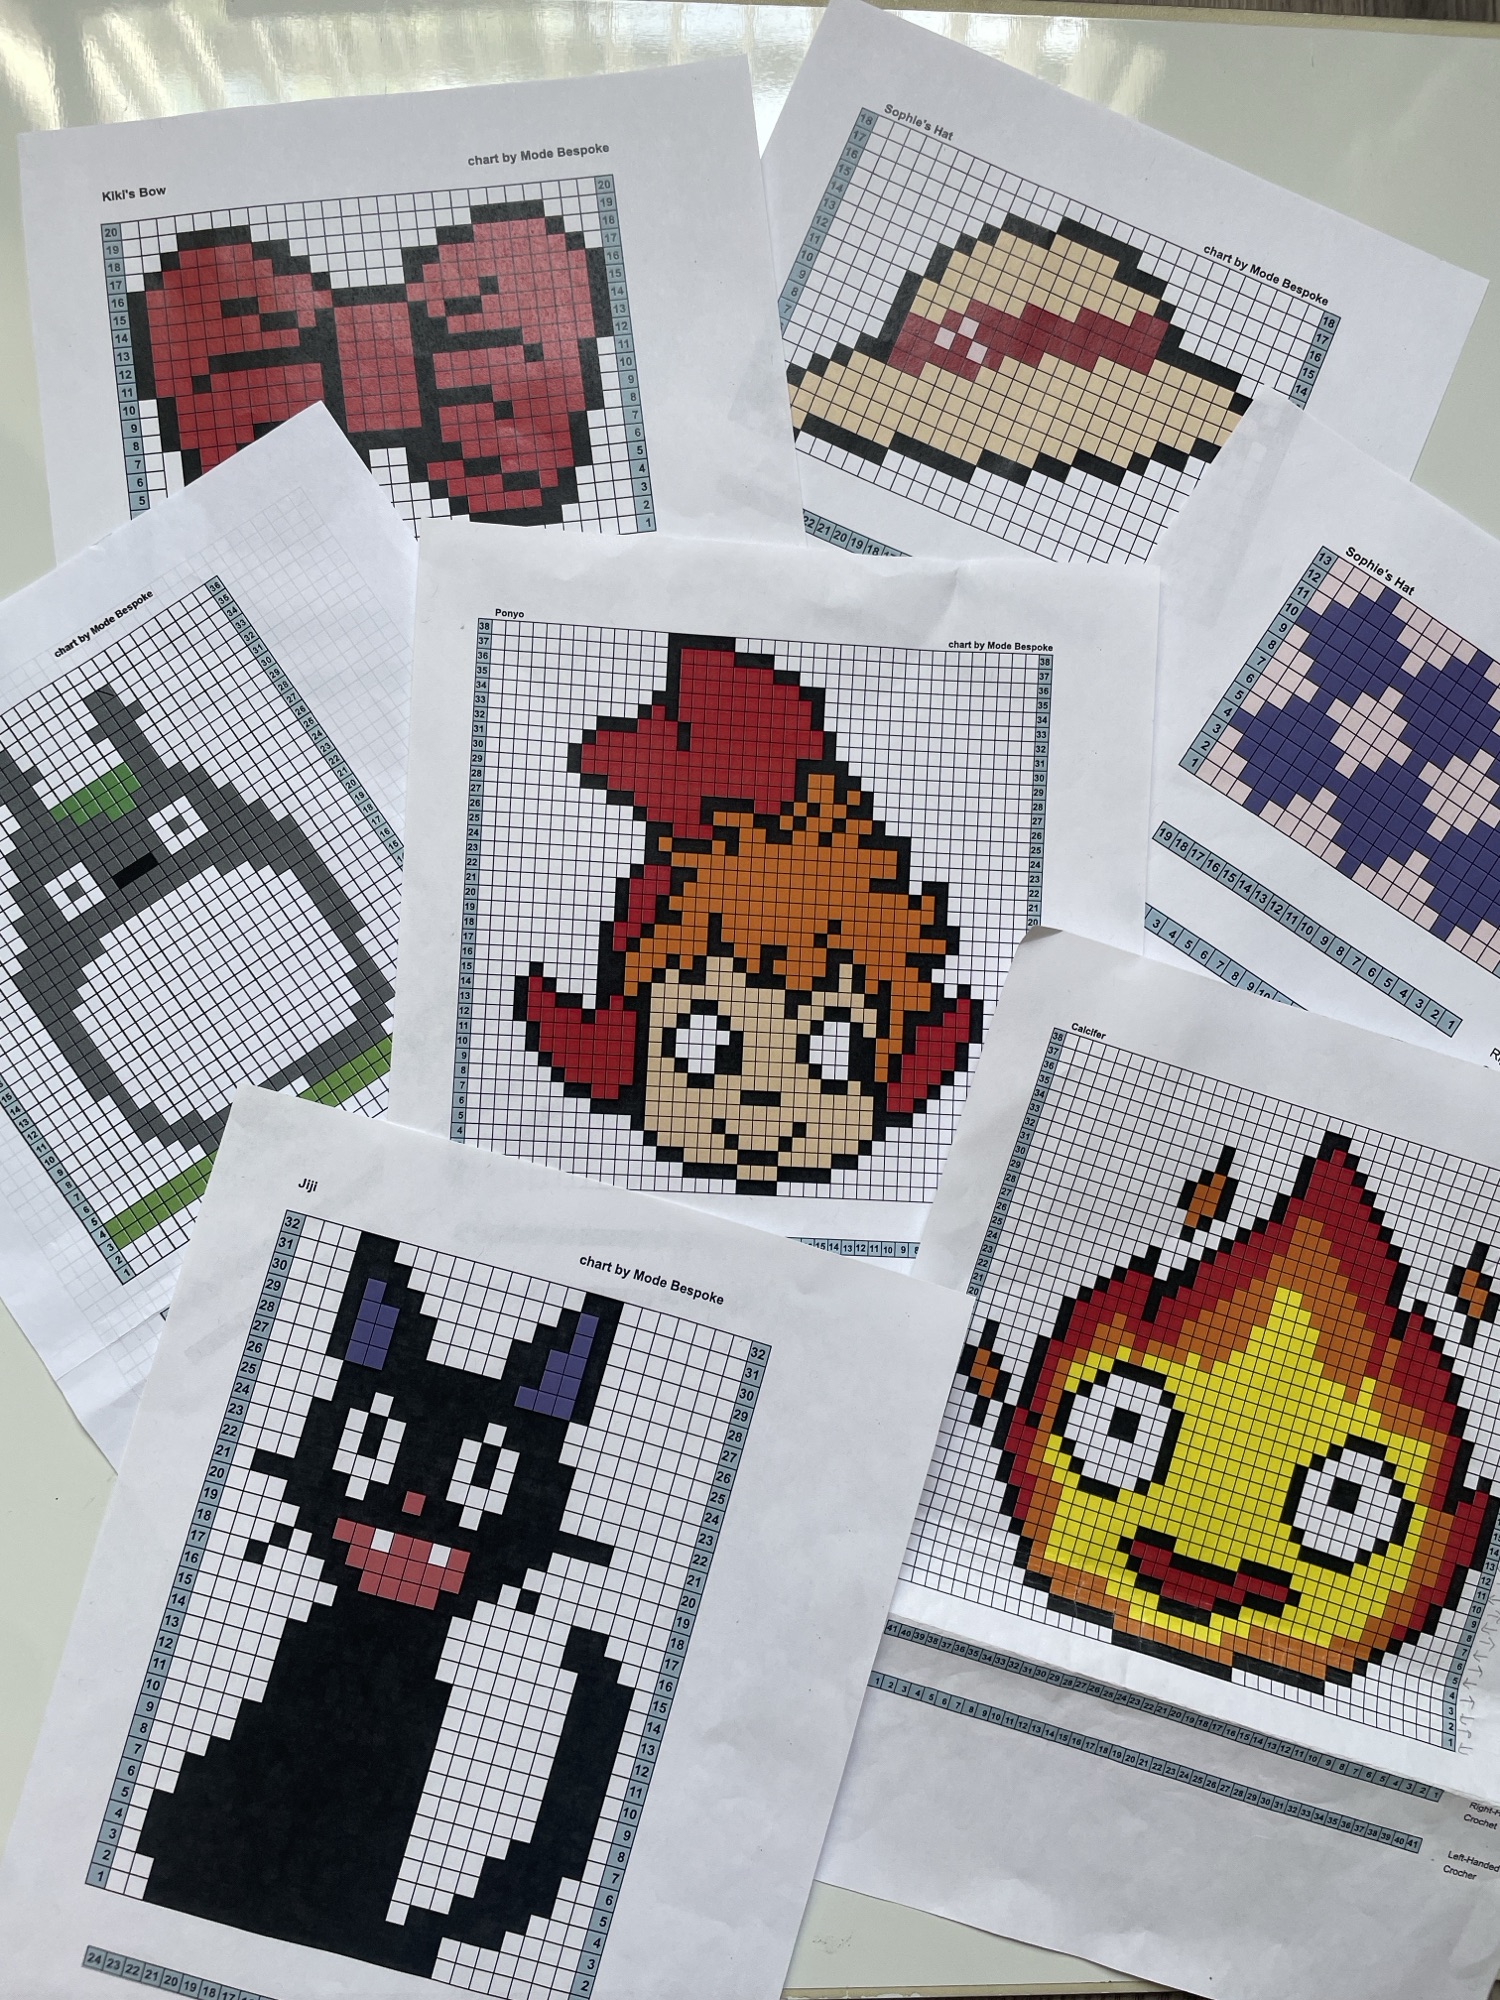
Studio Ghibli Charts
Some families do Disney – that family is definitely not us, we’re a Studio Ghibli home.…
-
Kenny’s Hat, Tunisian Crochet
Welcome back to another pattern, everyone! It feels like I haven’t posted in weeks (though it’s…
-

Tunisian Bend Stitch Hat
This pattern was requested by a YouTube subscriber as part of a series of Tunisian Crochet…
-

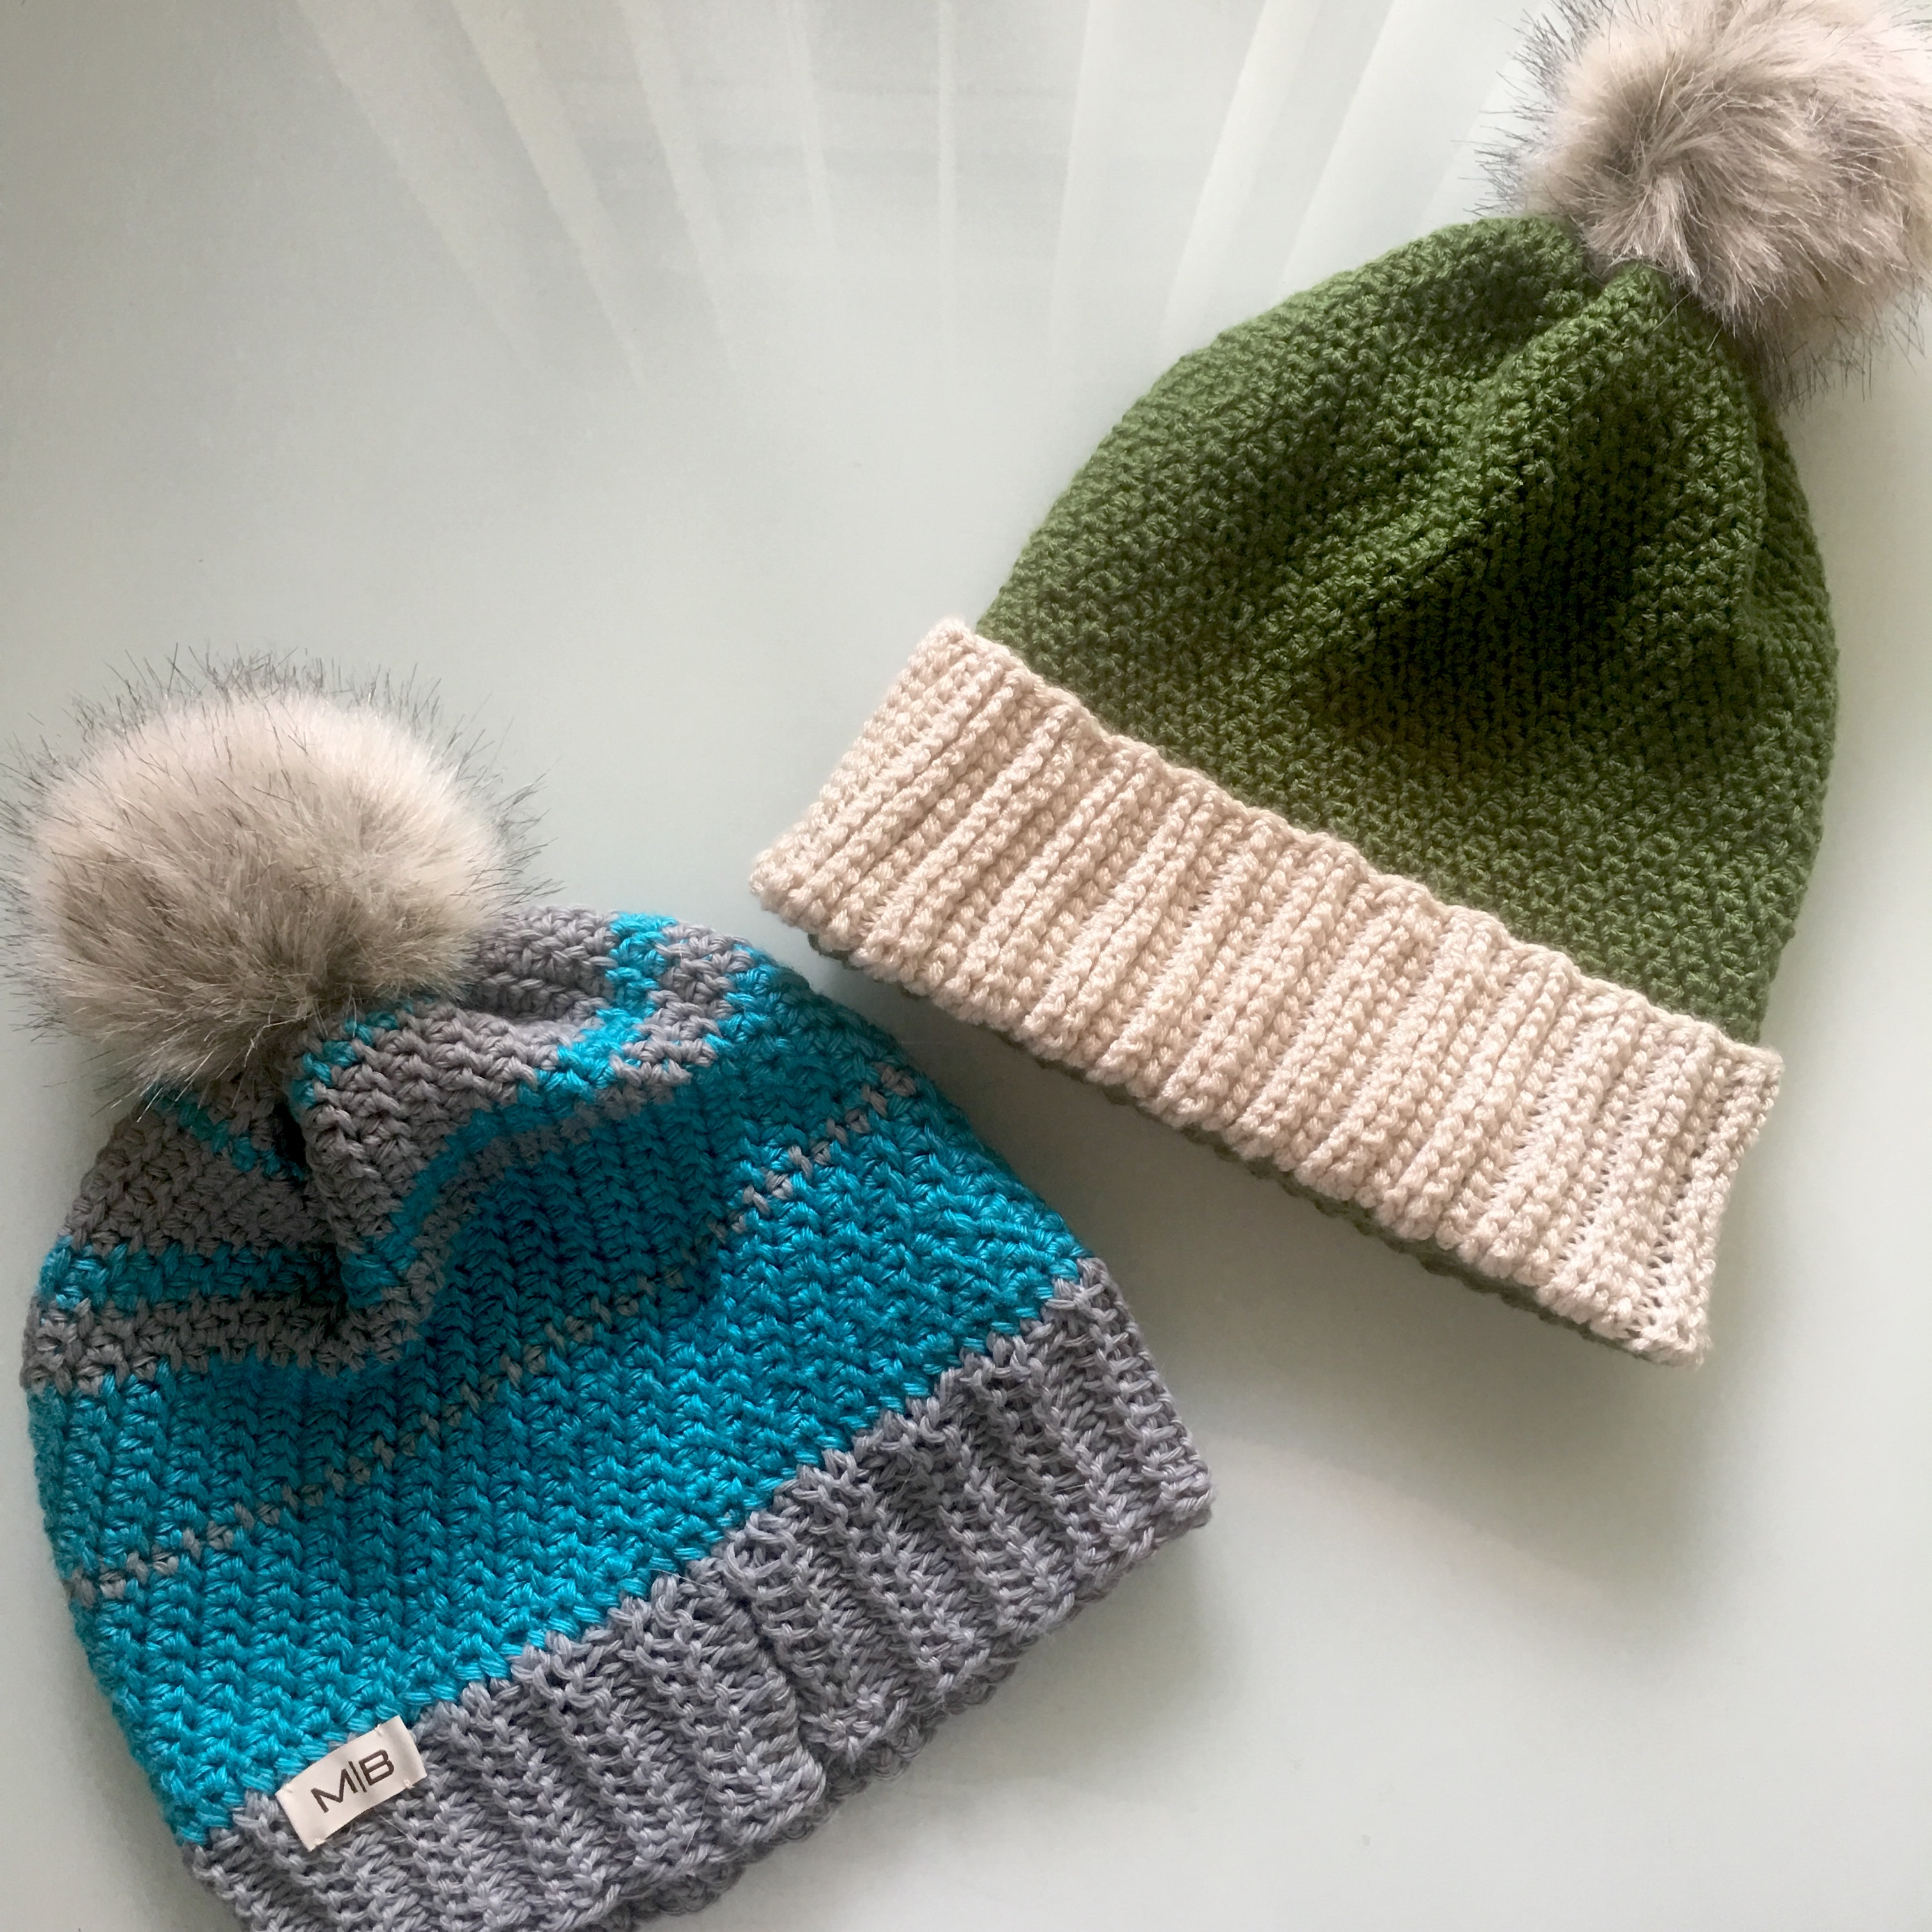
Chunky Crochet Hat
This is one super-chunky, thick, and soft crochet hat for all of my friends that live…
-
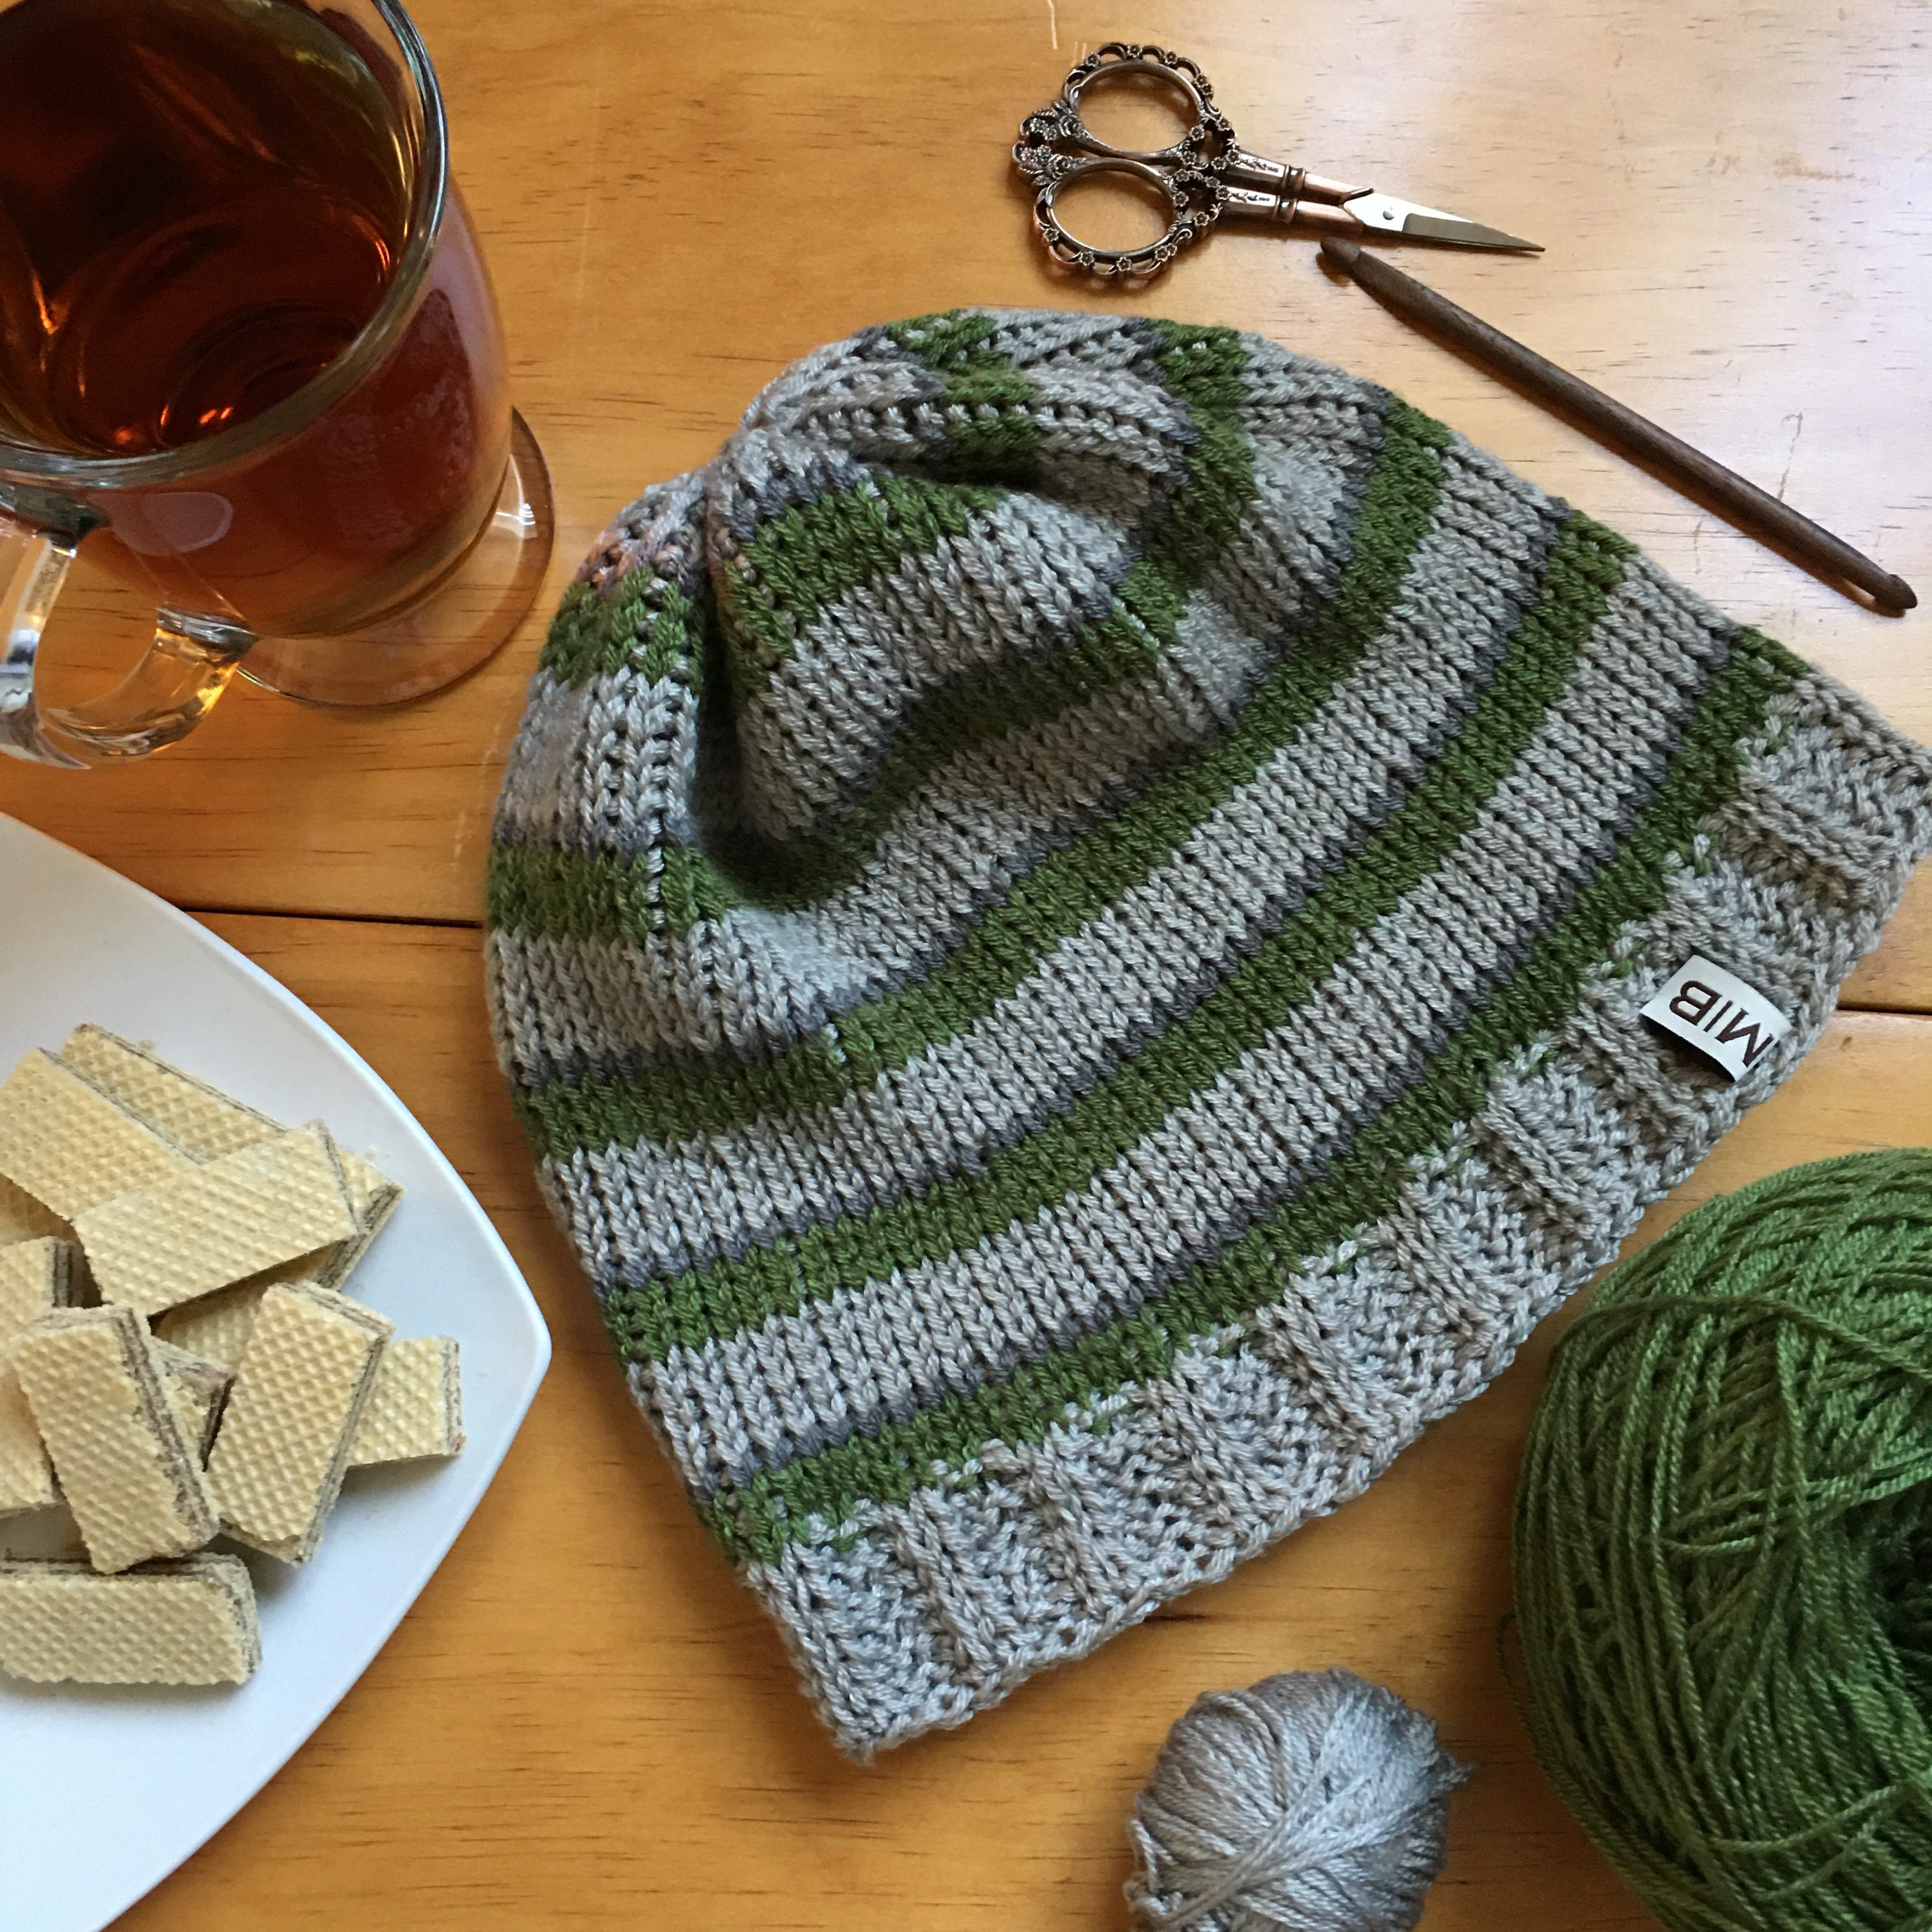
Twisted Moss Stitch Hat
This pattern is surprisingly easy to crochet, and looks fantastic no matter what yarn you use!…
-
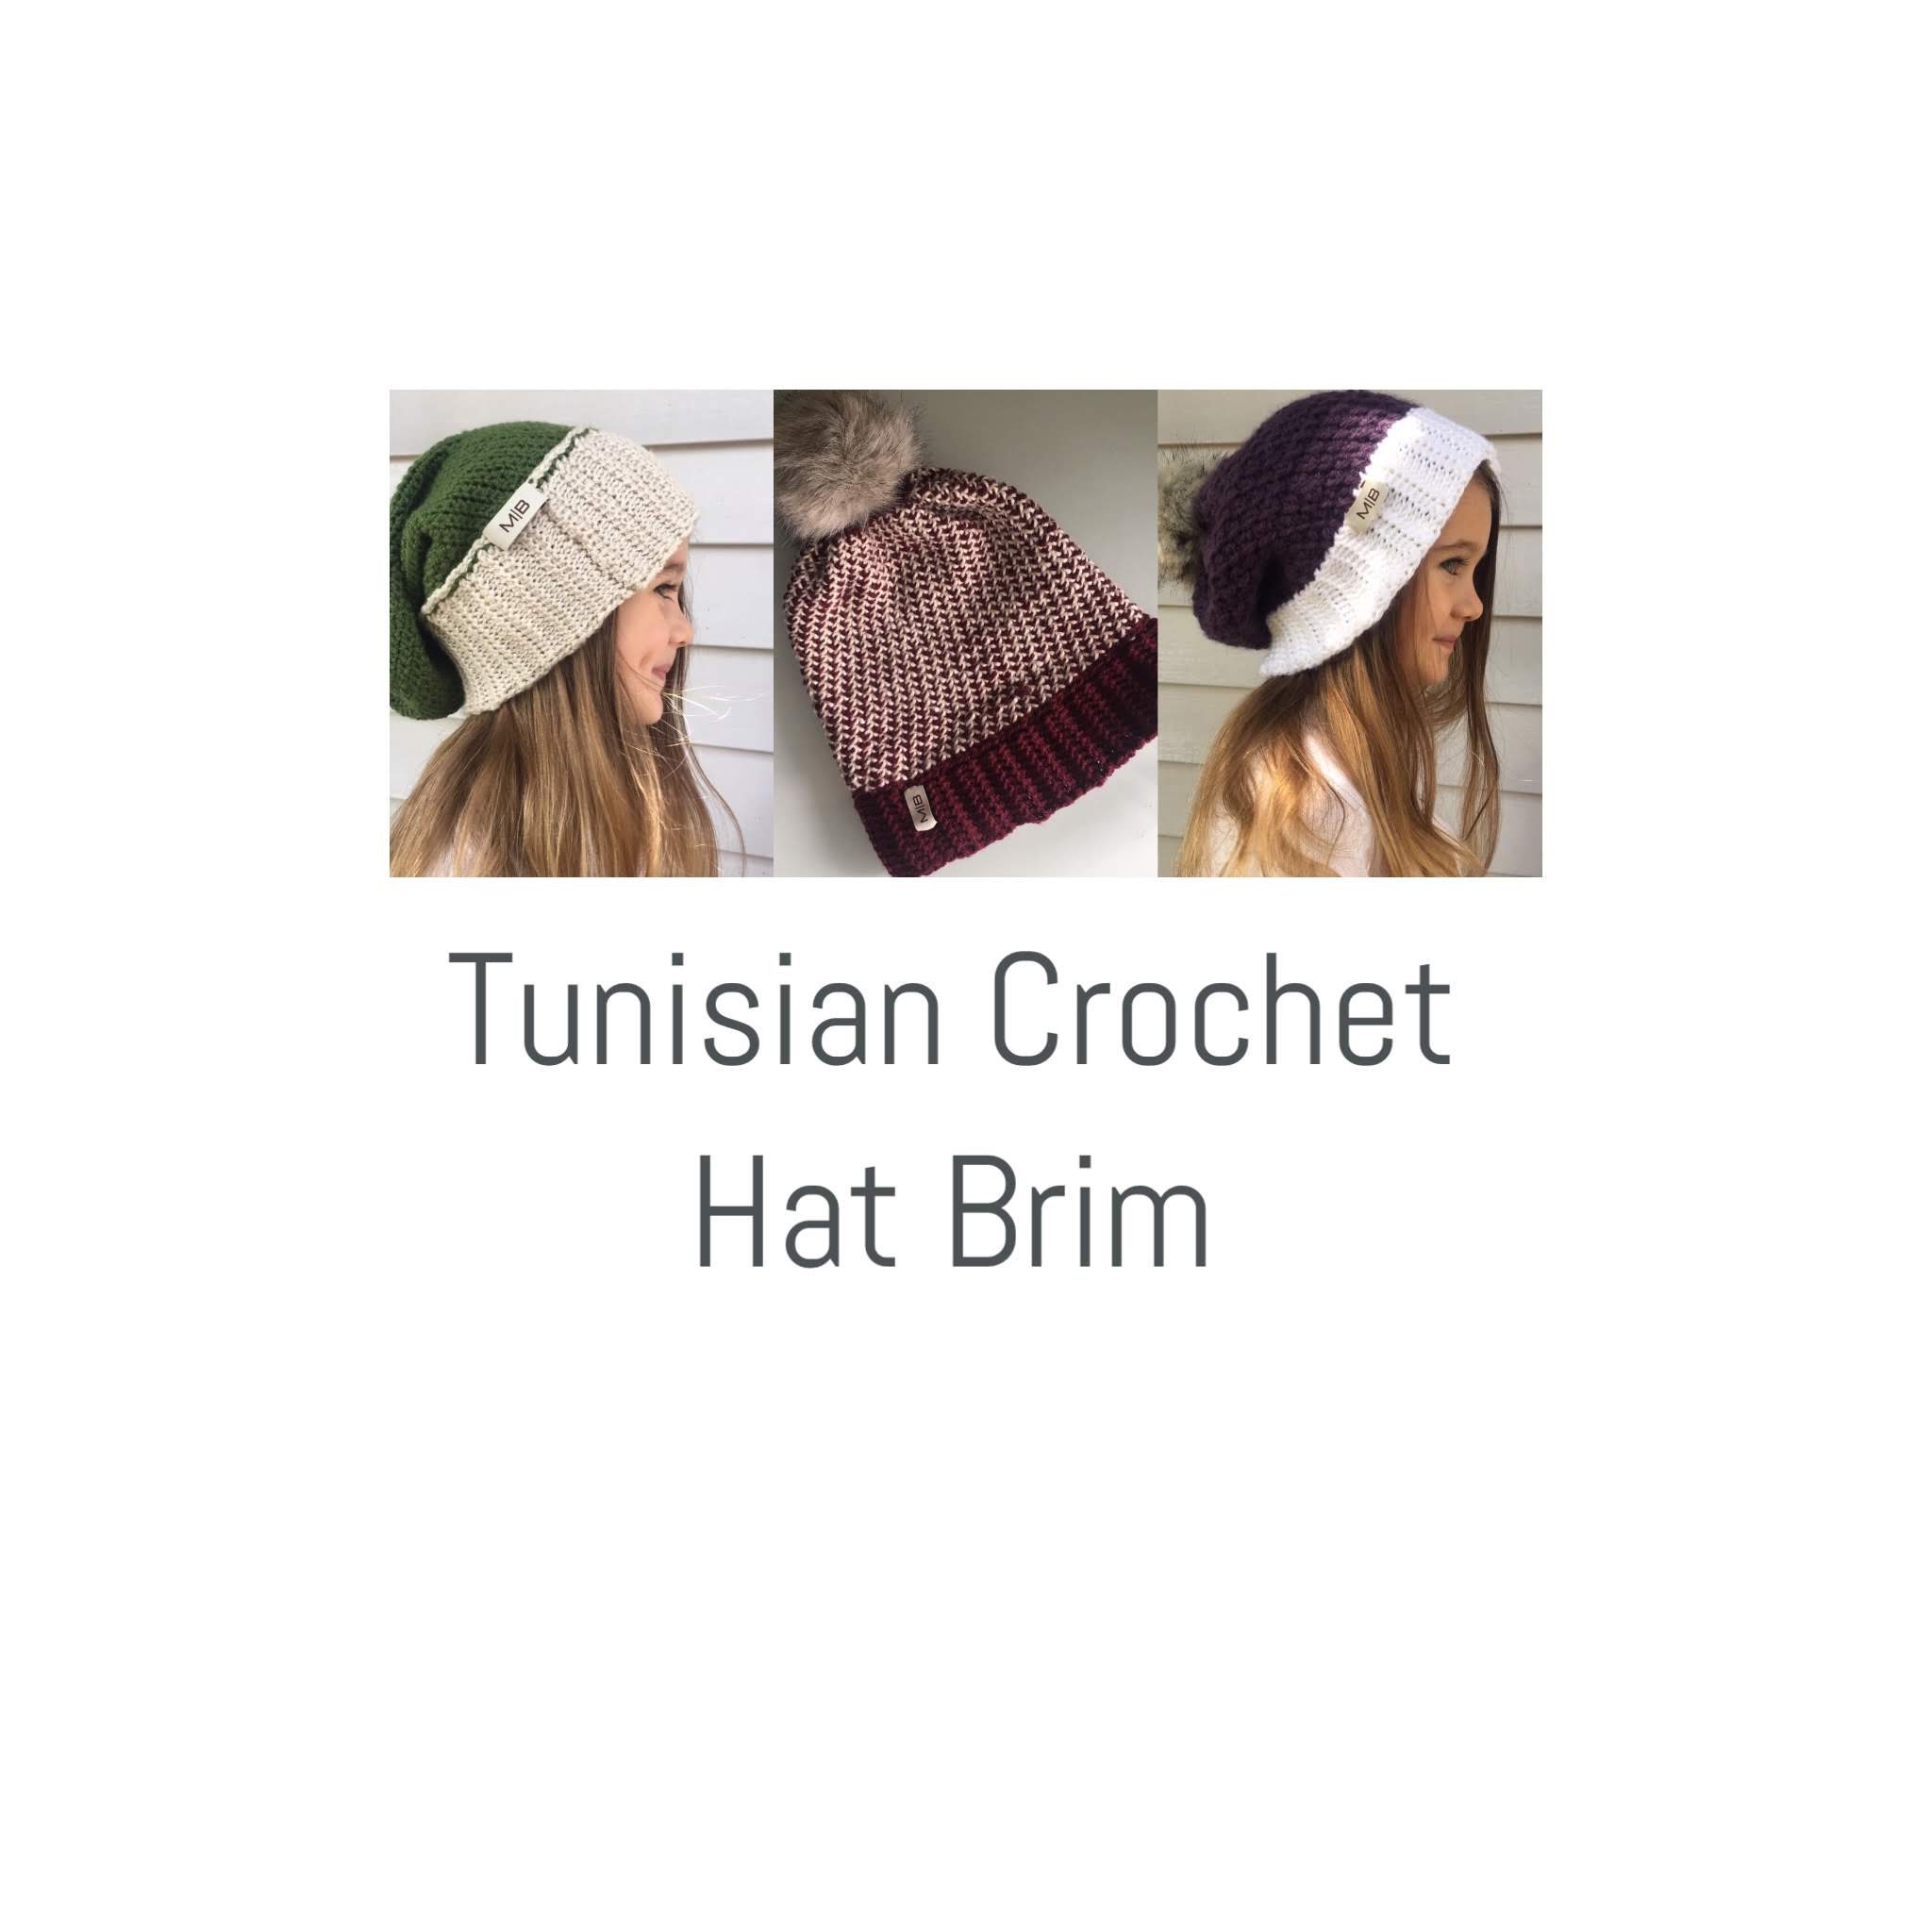
Tunisian Crochet Hat Brim
Helloooooo everyone! Here is the second hat brim pattern for you all! This one is a…
-
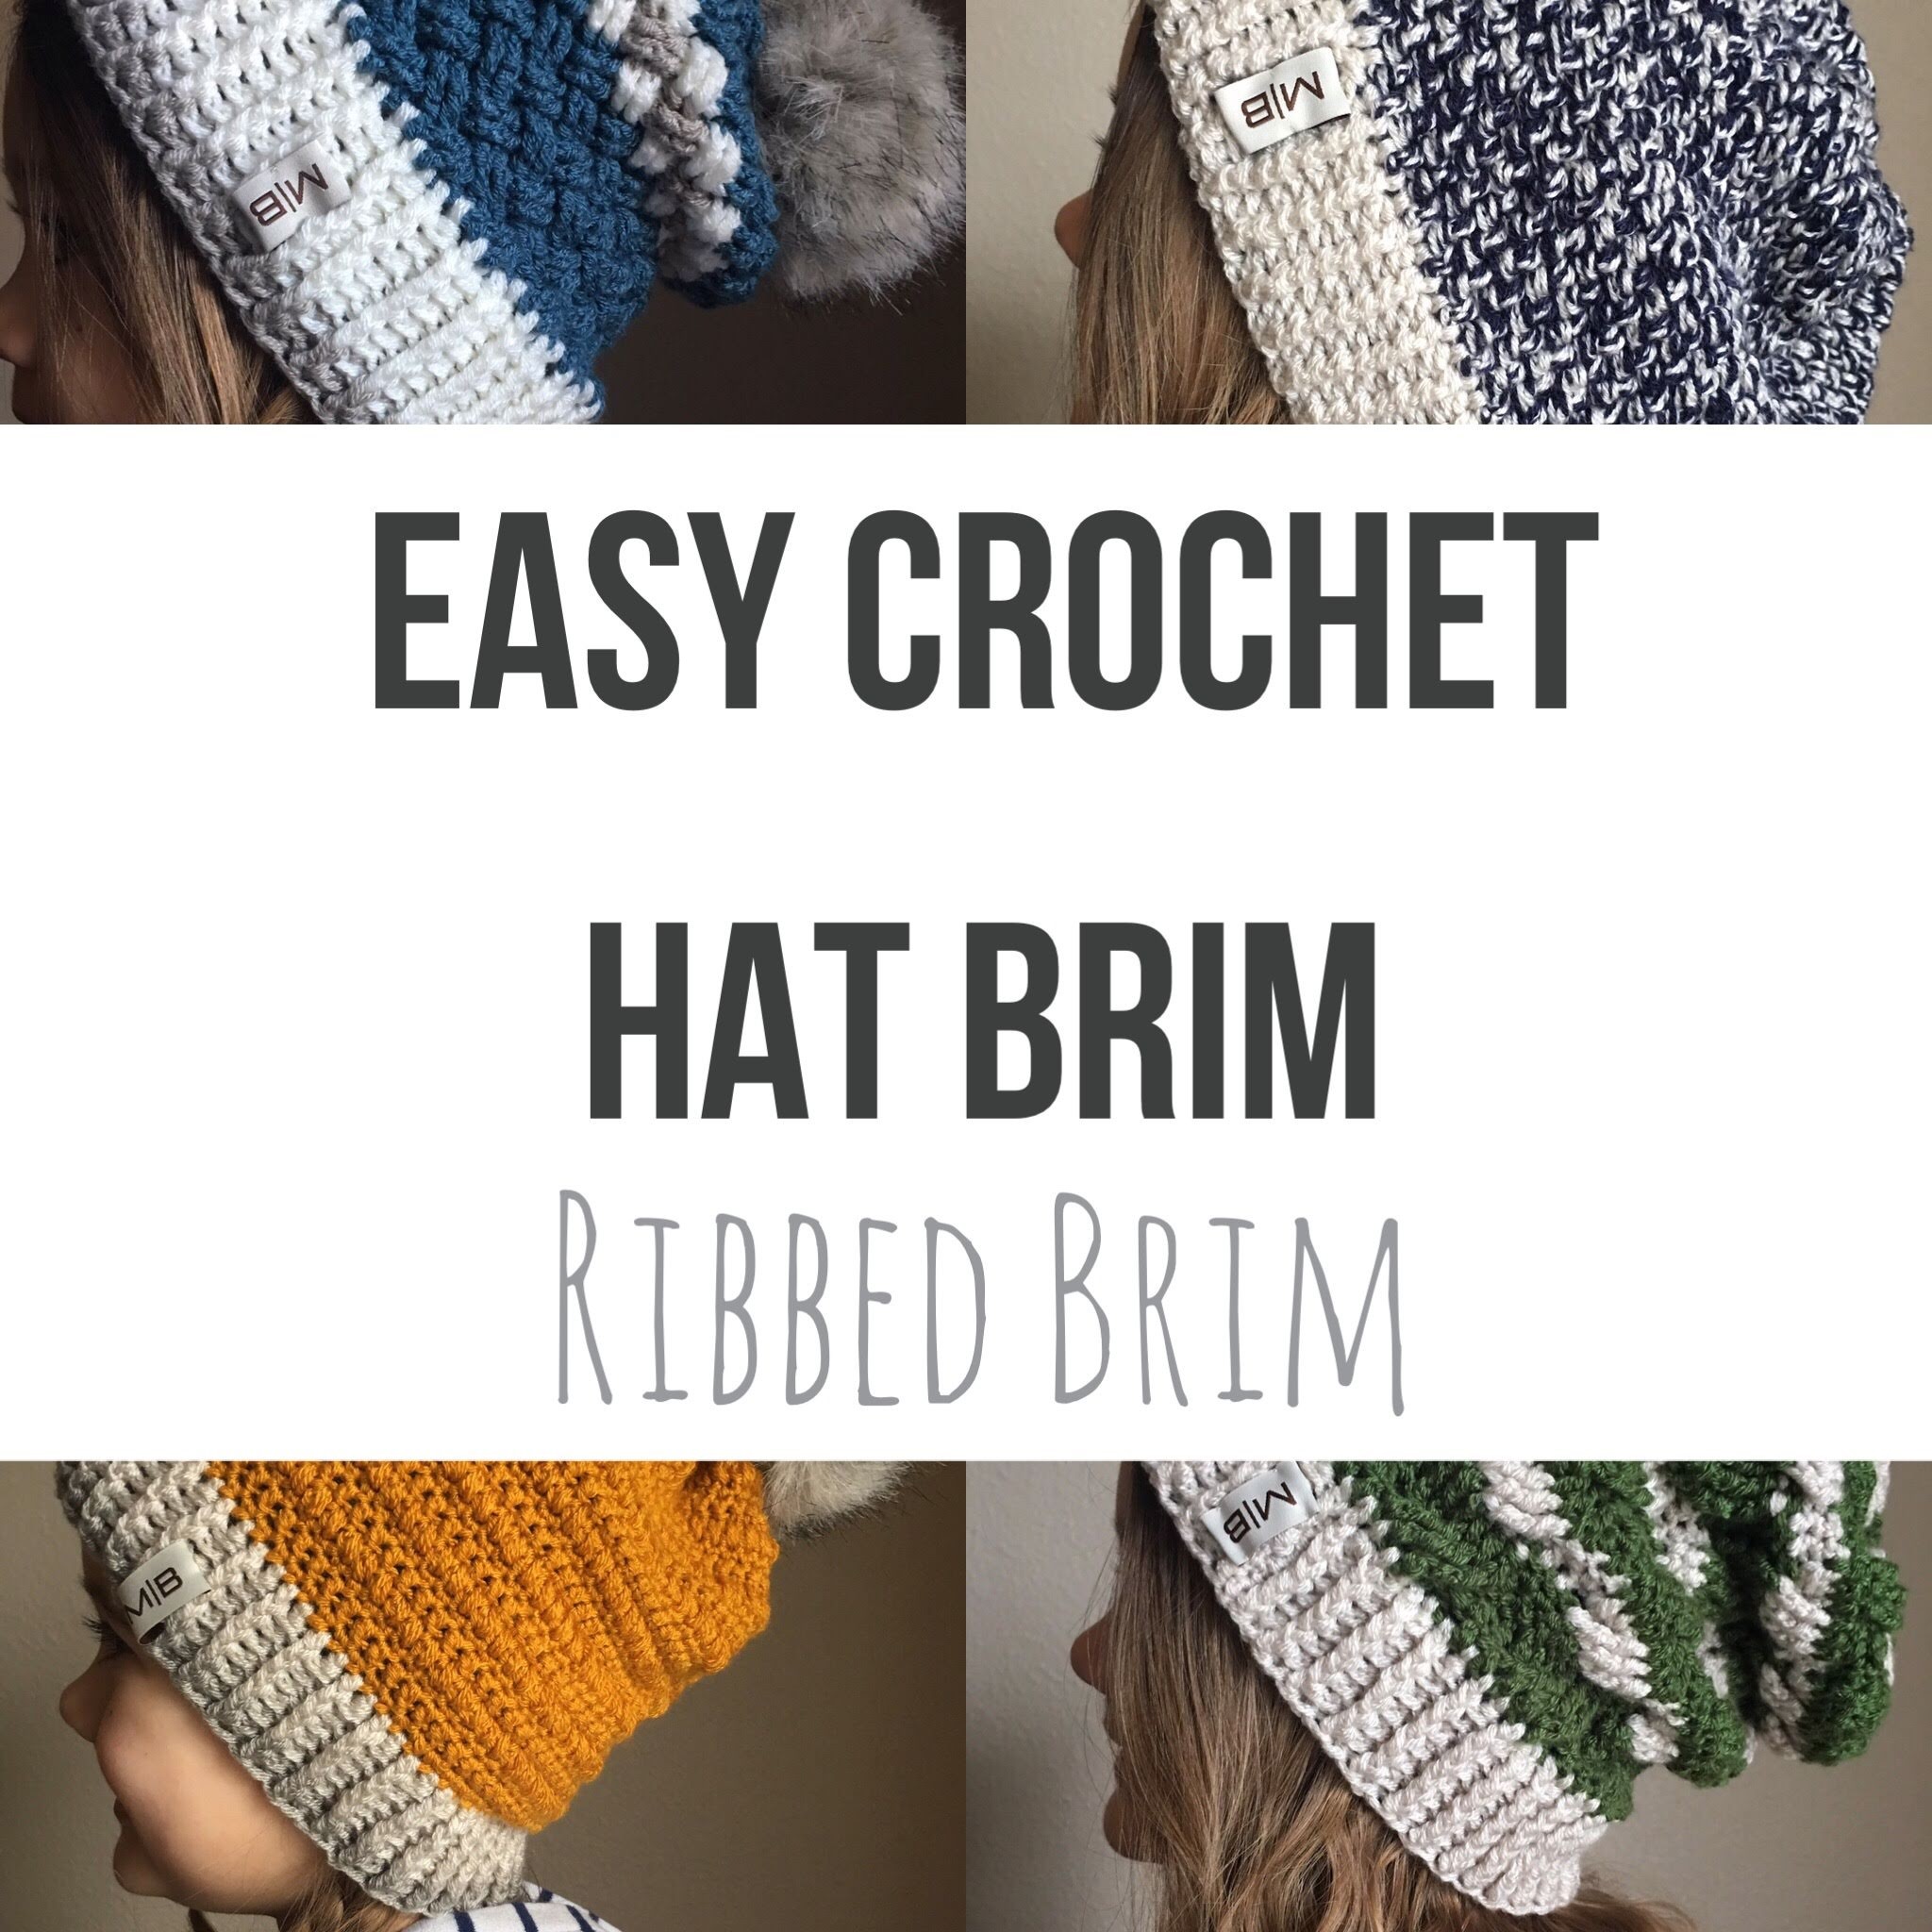
Easy Crochet Brim for Hats
Hello, friends! Today, we’ll be looking at one of two hat brim patterns. I’ll be posting…
-

Tunisian Crochet Hat
Happy Thursday, everyone! I’ve received a few requests, in the past few weeks, for patterns that…
-
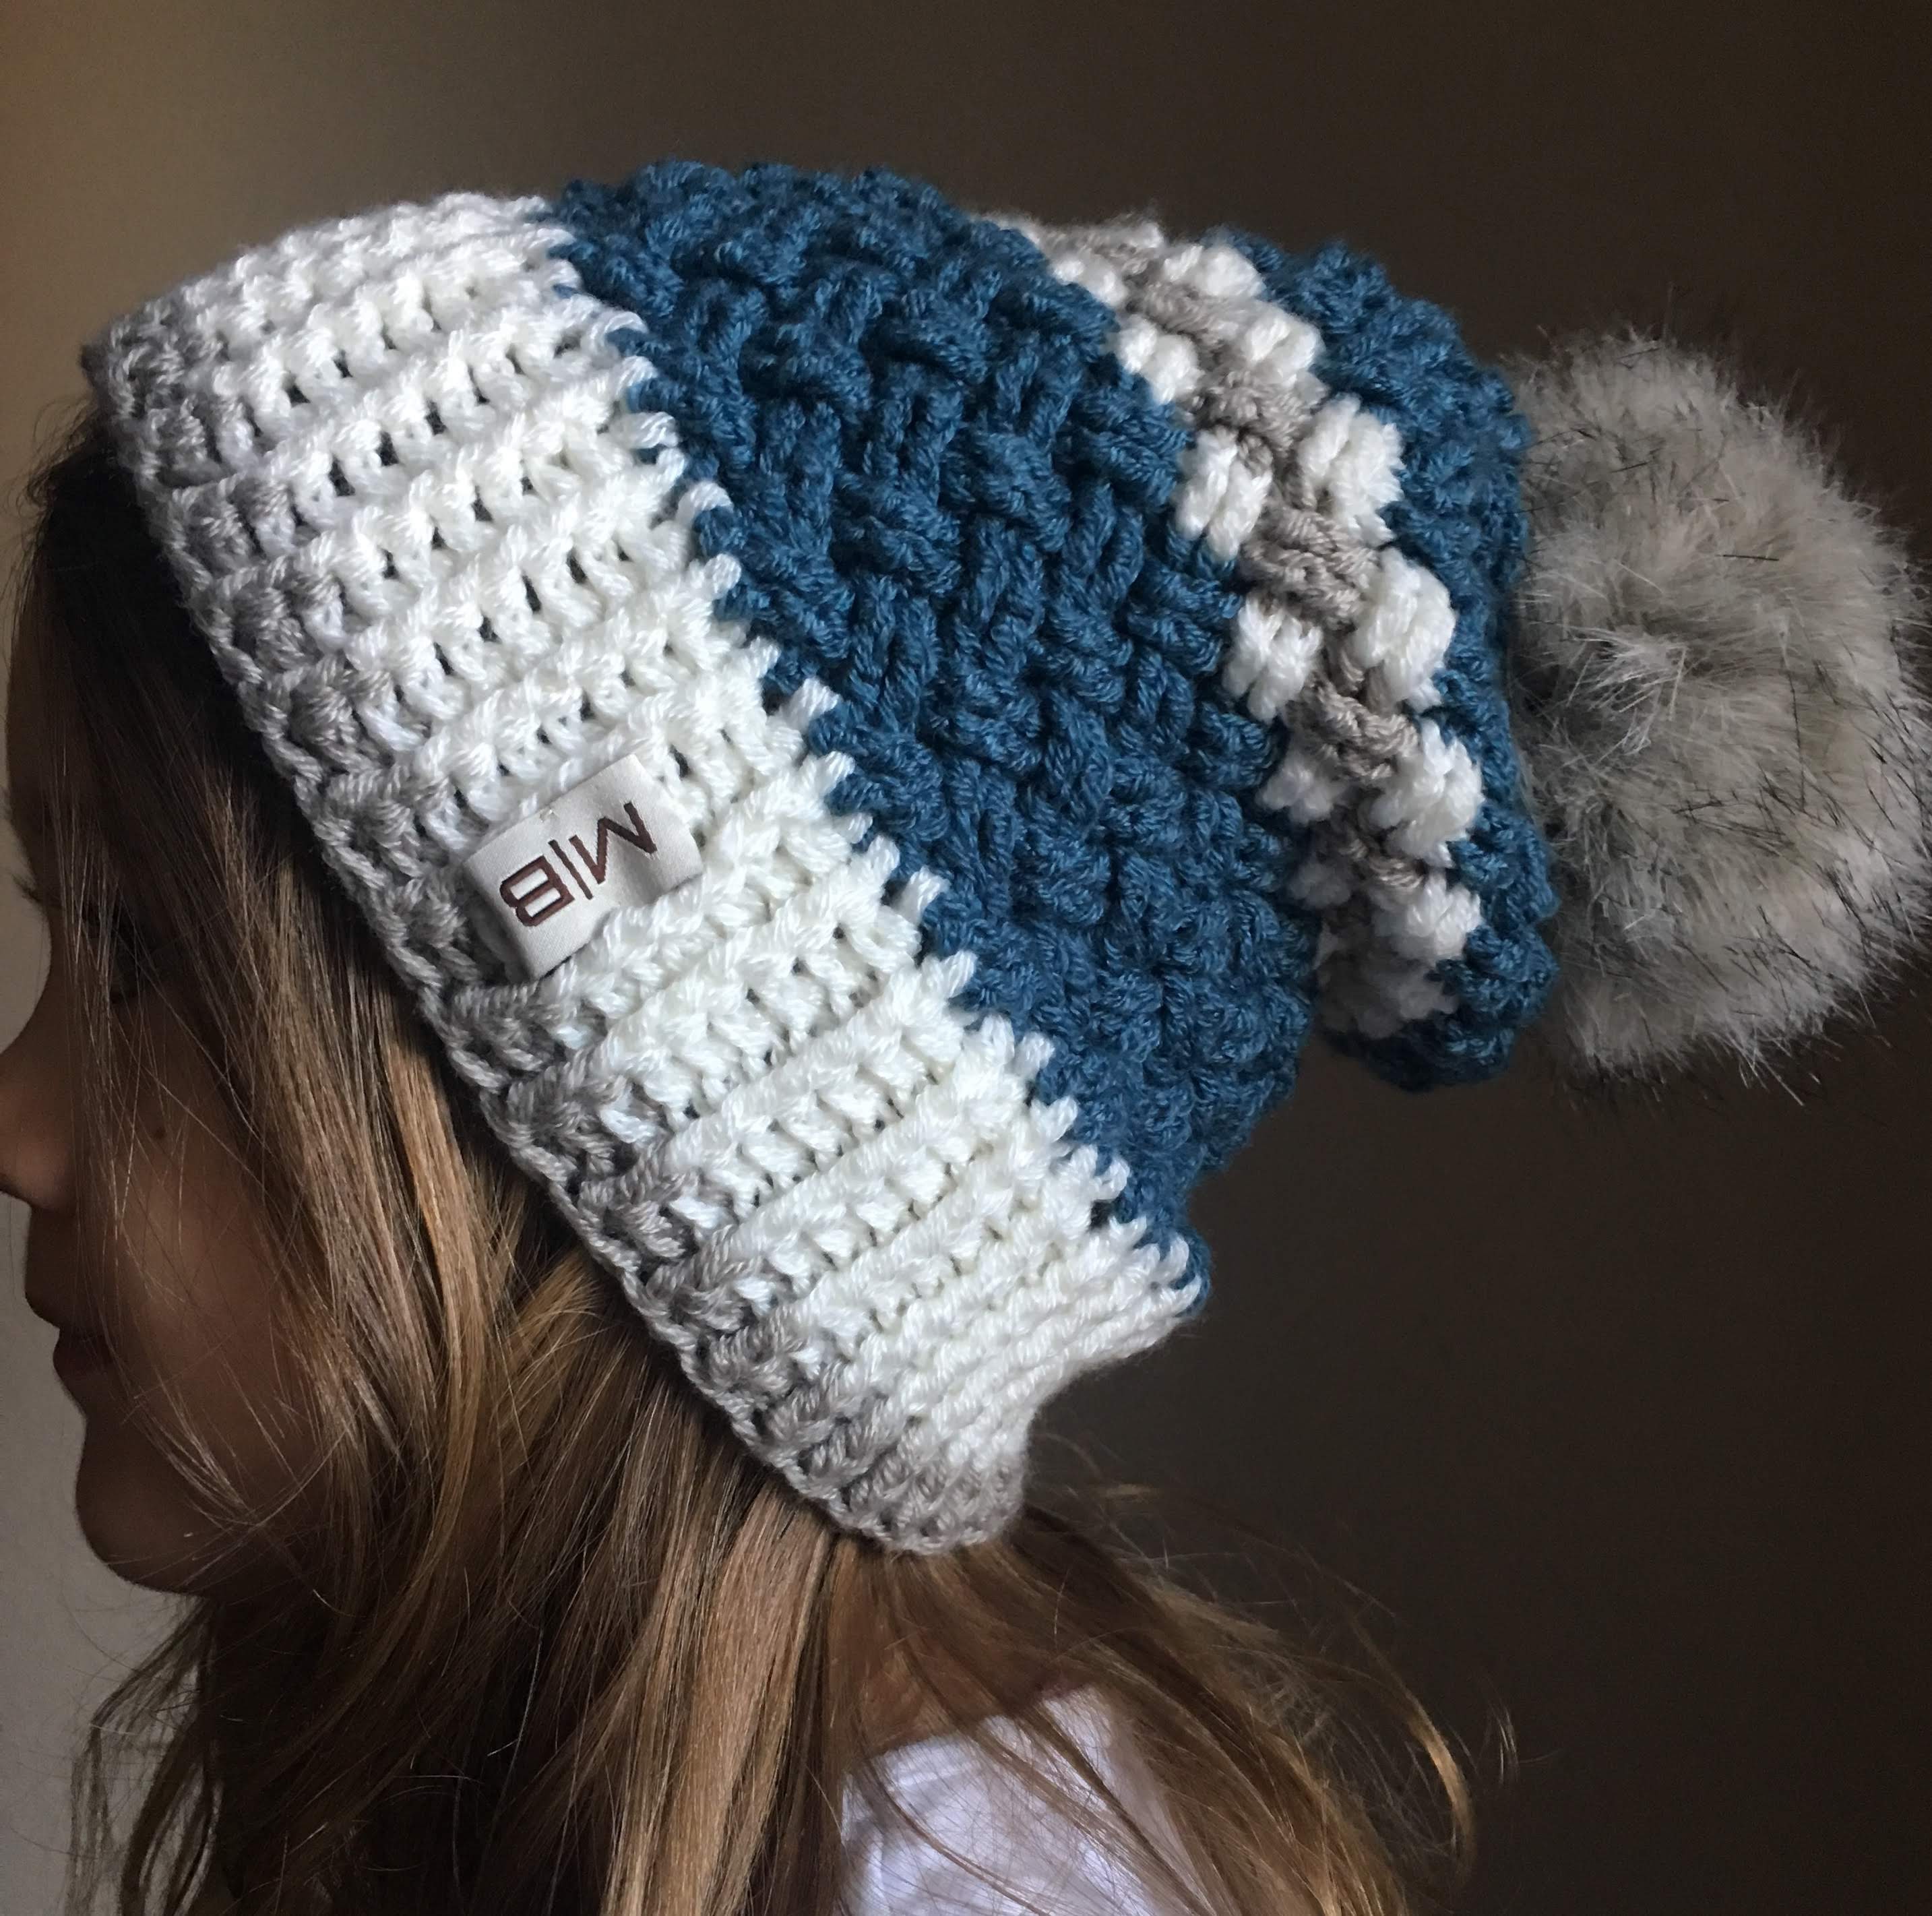
Celtic Weave Crochet Hat
I receive loads of questions about the yarn I used for this hat pattern. So let’s…